Back-To-School Hair Bows
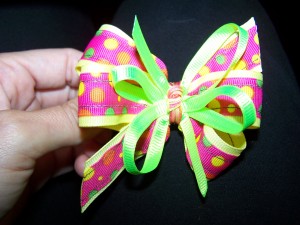 This is a great time to add this post to my blog, and the reason???? It’s Back-To-School season! So, with your girls new school clothes, they should have? Back-To-School Hair Bows to match. And I am going to teach you how to make a super simple bow, that will wow even the pickiest of moms!! Your girls will be so stylish with their new clothes and coordinating bows!? So,Click Here to get started!
First things, first. Take out your daughters new school clothes and make a list of colors that would coordinate with them. You may even take her outfit to the ribbon or craft store. While you are there, you will want to purchase a few items; matching ribbon, craft wire or thread, metal hair clips, embellishments (like small buttons or plastic gems), and hot glue or craft glue. Once you get home, determine if you would like to make two matching bows, or just one. I often find myself making 3. Two small ones, for the days I choose to put her hair in pigtails, and one larger one for the days I choose to put her hair in a single pony. If, I am just pulling a small portion of her hair to the side, one of the small ones will work just fine. For the bow I am demonstrating to you today, I used 26″ of the pink ribbon, and 24″ of the green ribbon.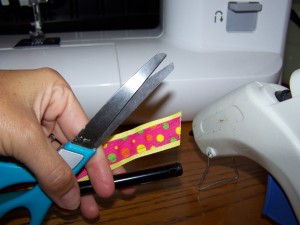 I like to start by cutting my ribbon at an angle, and then I use a lighter to melt the end of the ribbon to keep it from fraying.
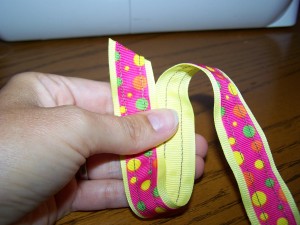 Start with your cut end of ribbon in your left hand, held by your thumb. Then, using your four fingers, winde the ribbon around your four fingers three times.
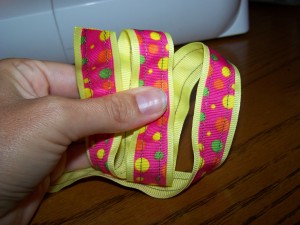 So, you will have one end and two loops on top, and one end and two loops on the bottom side.
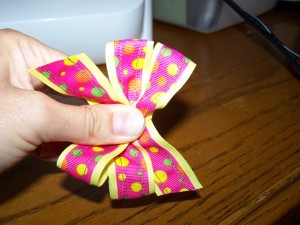 Again, you will cut the excess ribbon off and melt the tip to ensure that it won’t fray. Pinch the center together, holding it tight with your index finger and thumb.
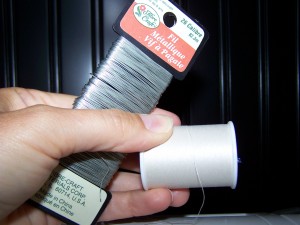 Next, you will want to grab about 6 inches of thread or craft wire. I have used craft wire for a long time, but as time has gone by, I have noticed that the wire eventually breaks, sometimes leaving your bow mis-shaped. So, I have switched to thread and it is remarkably easier to operate with.
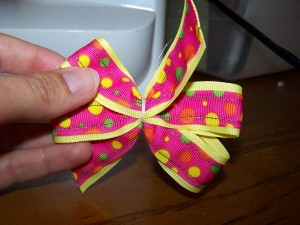 I use the thread/wire to wrap around the center of my bow. This holds it together right where I had pinched it with my fingers.
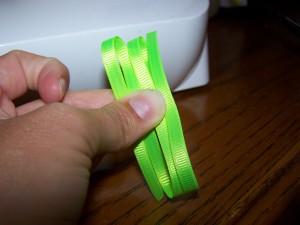 Here I have a smaller, coordinating ribbon that I am prepping to go in the center of my bow.
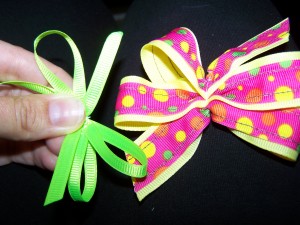 I fold/turn this ribbon the exact same way I did the larger ribbon, and use thread to secure it in the center.
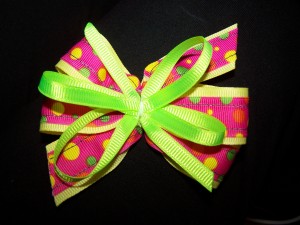 Now I prefer to use hot-glue to secure the smaller ribbon to the larger ribbon. You could use craft glue, but then you have to wait while it dries and sets. I like to get things done quickly. Just put a small drop on the larger ribbon and press your smaller ribbon right on top of it. You could also used more thread and sew or tie the two ribbons together, but like I said before, it’s quicker with hot-glue.
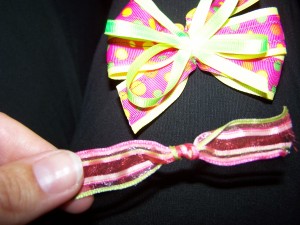 I then tie a small knot in a coordinating ribbon and am going to tie this, or glue this around the center of the two bows. I sometimes use a small plastic gem, such as a diamond or button to glue in the center of the bow. It really is just to give your bow a finished look.
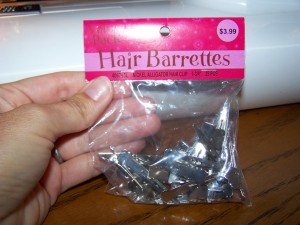 I purchased these small hair barrettes at a craft store, but if you live in the sticks, you can order them on-line as well and in larger amounts, which is sometimes better if you plan on making many bows.
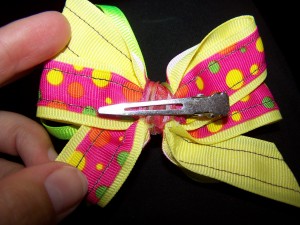 Hot glue the barrette on the back of your bow and wrap the rest of the knot around and glue.
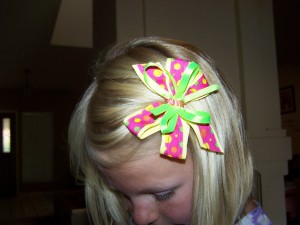 And Wa-La, your bow is finished and ready to wear.
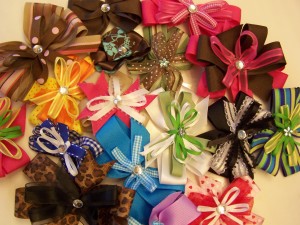 Making your own bows is so much fun that you may find yourself making a few for every outfit your daughter/granddaughter owns. And if you don’t have the time, you can always contact me to make them for you! Have FUN!!!!
