Placemat Scripture Case
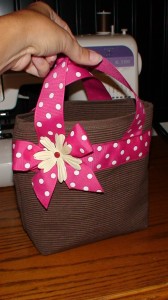 These are the cutest little bags ever and you can make them yourself if you can sew a straight line!! The great thing about the Placemat Scripture Case is that you get to customize it to fit your scriptures, design it with the colors you love, and “Be-Dazzle It” with all of your favorite embellishments. They can be made small for your small books, or super large and used as a beach bag. I actually set out to make nine for two of my daughters and seven of my nieces and it was such a fun project. I purchased the placemats at Wal-Mart, but later saw some really adorable mats at Hobby Lobby that were black with white polka dots. They would have been really fun to use as well. I chose mostly dark brown mats, a few tan mats, and a two striped ones. It didn’t matter what colors or styles I chose, each of the placemat scripture cases turned out unique and fabulous. I have plans on doing another for myself, but I will use a beaded fringe around the case to jazz it up a bit. SO…………let’s get started!!!
Click HERE for Placemat Scripture Case
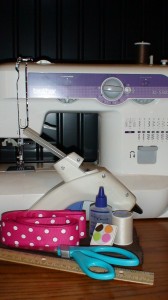
For this project you will want to have;
1)a placemat
2) coordinating ribbon
3)hot glue gun (high heat)
4)flower, button, or cute embellishment
5)lighter/fray check
6)ruler or measuring devise
7)scissors
8)matching thread/sewing machine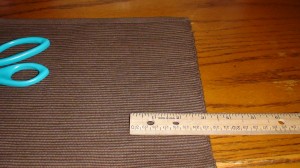
Start out by laying out your mat flat with the longest part running North and South. The smallest width of your placemat will run West and East. I was making my case for a set of scriptures that was 7 1/4″ x 5 1/4″. Because my measurements were a bit smaller than the actual mat, I measured 3″ on the width, and cut it off (running my scissors North and South) in order to make a smaller case. 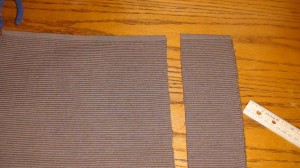 Here is the 3″ cut off the placemat.
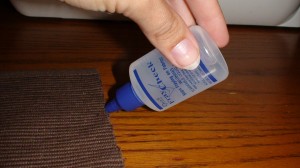 I use Fray Check to put on the cut edge of the mat to prevent fraying.
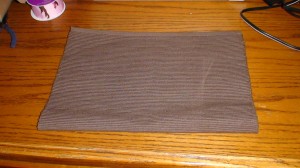 Fold the placemat in half (right sides together.) Next sew 1/4″ seam down each side. Which will leave the top as the only opening. If you have a serger, this project becomes much easier. It skips the steps of placing Fray Check on each edge and the steps of cutting off excess fabric, because your serger does it for you!!
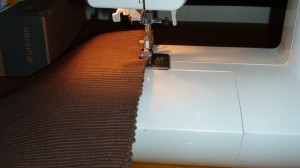 This is what it will look like when you sew the two folded sides together.
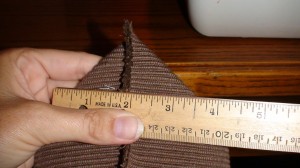 To make your case boxier on the bottom, you will want to sew the bottom corners straight across from one side to the other. I measured two inches on each side of my seam.
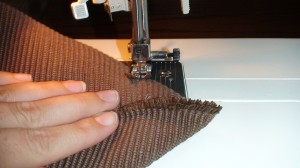 Pinch the corner and sew straight across.
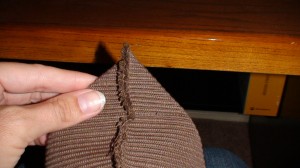 This is what it will look like when you’ve sewn across the corner.
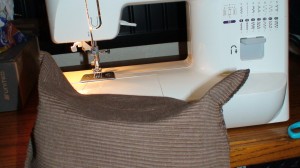 It looks a bit like bunny ears when both corners are sewn.
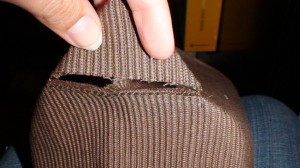 Cut the “bunny ears” corners off right above the seam. Then use the Fray Check to prevent fraying inside the case.
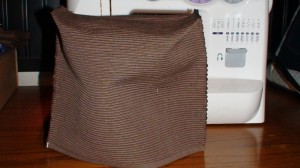 This is what the case looks like with the corners cut off.
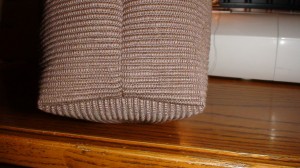 Once you turn your case right side out, you will see (an upside down T) and they should look boxy like this one.
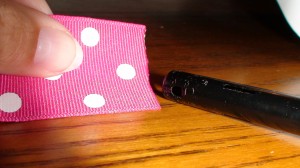 For this case I am using this pink/white polka dot ribbon. I start out by melting the end with a lighter to ensure it doesn’t fray. It works a bit better than Fray Check on ribbon. Measure the perimeter of your case and cut your ribbon 1/4″ longer than actual perimeter. This ensures total coverage.
 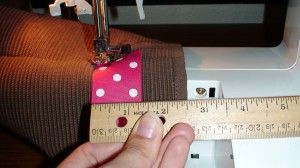 Attach ribbon 2 1/2″ down from top. Sew a seam along the bottom side of the ribbon all the way around the case.
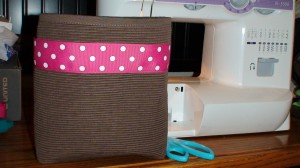 This is what your case will look like once the bottom seam has been sewn onto ribbon and case. *Note-the top seam has not been sewn through the ribbon yet.
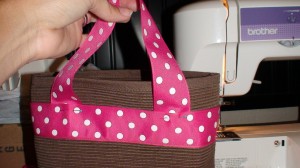 Measure and cut ribbon for your handles. I use about 16″ of ribbon for each handle. Slide the ribbon behind the perimeter ribbon and pin in place. When you sew the top seam of the ribbon onto the case, it will secure the handles in place with the same seam. You may want to back-stitch over the handle section to ensure sturdiness.
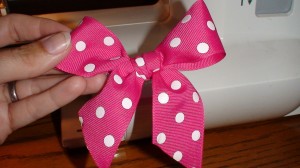 For this scripture case, I crafted a substantial matching bow using the leftover ribbon and secured it with some mitre fast glue or hot glue. To enhance its appeal, I affixed a delicate flower to the center of the bow before carefully attaching it to the front of the case.
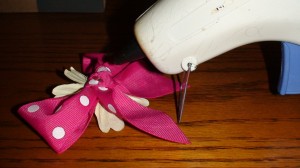 Place a dab of hot glue (high heat) onto the back of ribbon. Stick it wherever you want, but I placed mine off center.
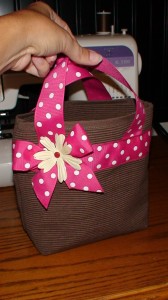 This is the scripture case finished. You can see where I added the bow, just to the side.
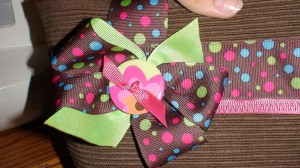 Another case with a button and bow as embellishment.
 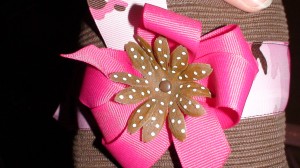 Pink Bow with Brown Polka Dot Flower on a Camo Ribbon Case.
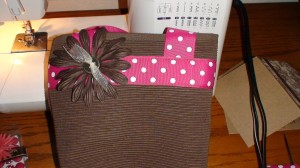 Same case I made, just a different look/option with the big brown flower.
 A few different placemat scripture cases. Enjoy Creating and making your own case as glitzy or simple as you’d like!!

