Flower Making Tutorial-Part 1
So, I’ve had many request on making the new type of fabric flower hair accessories.
((I know this may be old news to some, but to others it’s new))
Therefore, this post is dedicated to just that.
The first one I am going to show you is the twisted rosette flower!
(That’s the brown and cream one in the upper-left corner)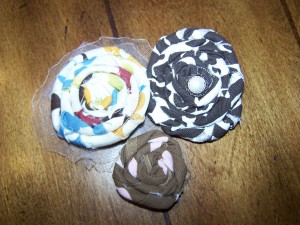
Click on the “Read More” button to see the entire post….ps…there are a lot of pictures!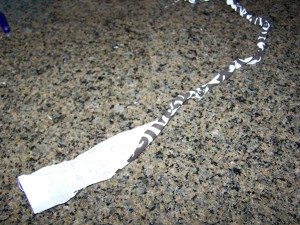 Remember my curtains I made last week?? Well this strip of material is a scrap piece I had left over.
I made this flower with a 1.5″ x 24″ strip of fabric. Then I twist and twist.
Some peeps like to put a fuzzy pipe-cleaner inside the strip and wrap the material around it…
for me, I just like to twist it up!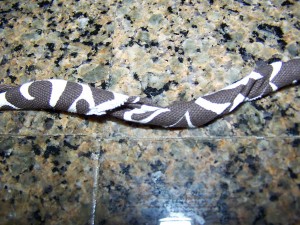 Here you can see the “twisted fabric.” {Don’t you think that would be a good name for a sewing blog…I do}
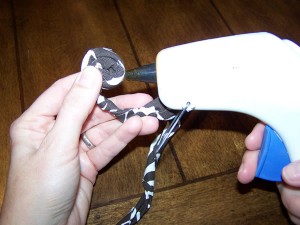 I switched work spaces, because my counter as the background was making me a bit dizzy!
I start at the end of the twisted fabric and turn it in towards itself,
then I put a little hot glue on the edge of the rosette and pressed the twisted fabric to it.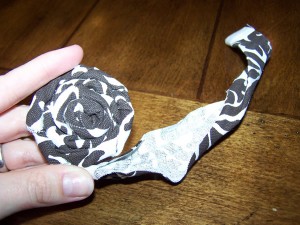 I just kept going, twisting, gluing on the edge, twisting, gluing.
You get the idea. 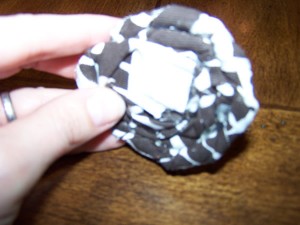 ooohhh, this pic is so blurry, but I wanted to show you the end.
I just bring it around to the back and glue it flat.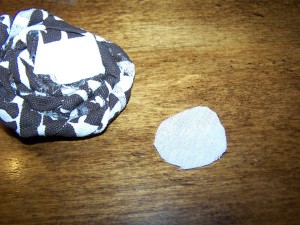 For the back of the flower, I cut out two small fabric circles.
The first one, I glued on the back of the flower to cover up the mess.
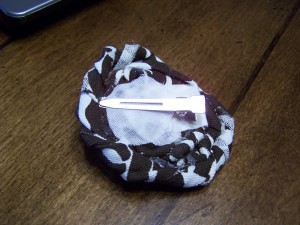 Then I applied the alligator clip with hot glue and
then added the second fabric circle to secure the clip in place.
I didn’t need to do this step, but I just think it gives it a cleaner-finished look,
and my girls hair doesn’t get caught in the excess dried glue.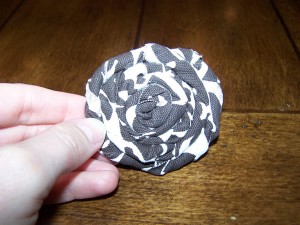 Okay, here is the finished rosette, and you can leave it just like this.
Or you can add sheer fabric or tulle behind it.
I decided to add a center…here are a few of my options..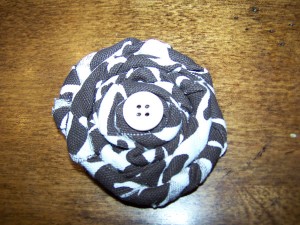 A white button…or…
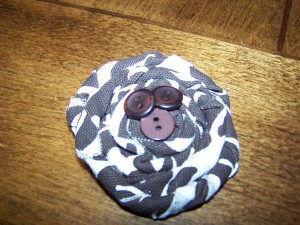 3 brown buttons…or…
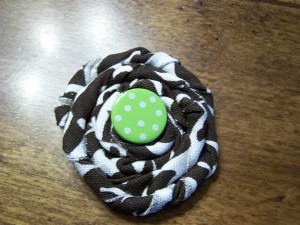 Green and white polka dots…or…
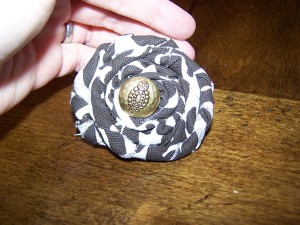 A Gold Button…or…
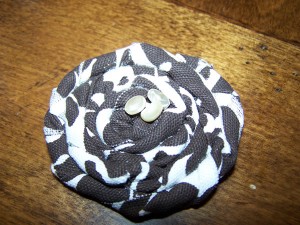 3 small white beads…or…
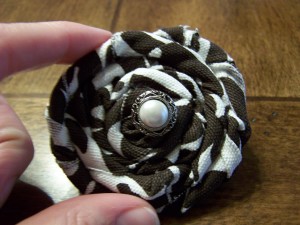 and my favorite and final choice…a pearl button. Just added hot glue and pressed it on.
I purchased these 4 for $1.67 or something close to that.
I would use them on everything because I love them!!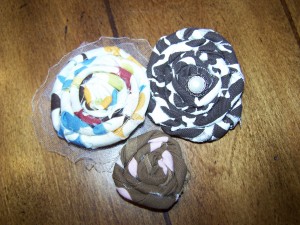
Just a few more made with the same technique!
