Flower Making Tutorial-Part 3
This is number 3, in my set of flower tutorials.
This is a fabric “Folded Petal” flower!
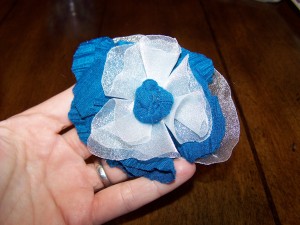 This flower can be huge or small, worn in your hair,
on your necklace, on your wrist, or just about anywhere.
They are a really fluffy flower.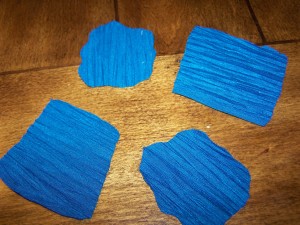 I started our with four 2″ squares, and I cut them into wavy circles.
 Blurry Picture (sorry my camera is on the blitz)
After cutting the fabric into a wavy circle, then fold each one in half.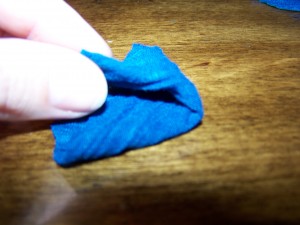 Then fold it over again about mid-way. But you see that dark crease at the end of my thumb??!!
I like to put a tiny dot of hot glue near the point, in that crease where you can’t see it.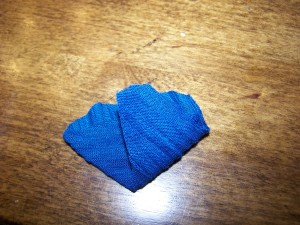 This is what the wavy circle looks like folded twice.
Once in half, and then folded mid-way.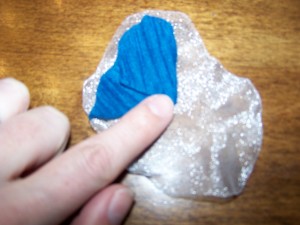 I then had a sheer piece of white fabric that I cut in another wavy circle.
I put a small dab of hot glue on the backside of the blue petal,
then pressed it into the center of the sheer white fabric.
You don’t want to glue it flat, because this is a fluffy flower,
not a flat one!!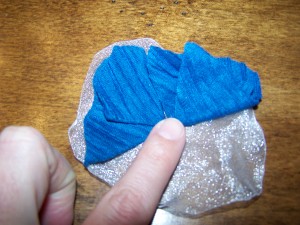 I continued gluing the petals around the center point of the sheer fabric.
The point of each petal touched.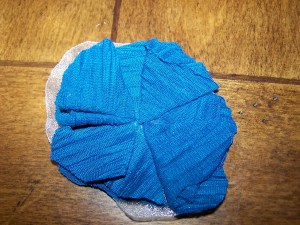 This is what it looked like when all the petals were glued together.
You can add as many layers of petals as you would like.
The more you add, the fuller your flower!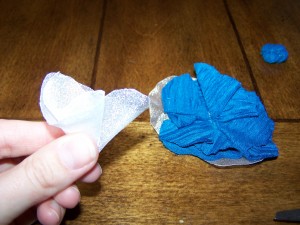 Then I cut a few smaller wavy circles out of my sheer white fabric.
NOTE–I only used 4 blue petals, and 3 sheer white petals.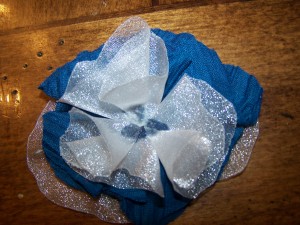 I then glued the 3 folded sheer petals into the center of the blue petals.
You can see the center of the flower where I pressed the petals to the glue.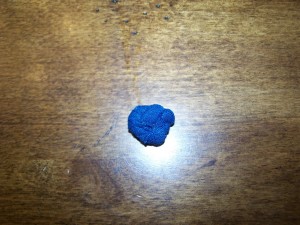 I tied a knot out of some left over fabric and glued in the center of my flower.
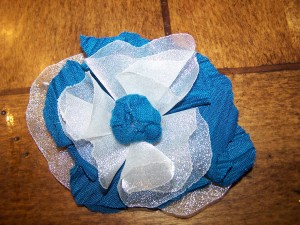 I added an alligator clip on the back and here it is…finished.
