
The Things You Discover During a Bathroom Remodel
I have to apologize about all of the remodeling articles lately, but when things start to warm up, it feels like it’s time to get to work! You know?
For those of you who live in an older home or remodel older homes for a living, you know that if you decide to make a major change, you might just open up and huge can of worms that could cost you more than you had hoped for. One of the things I made sure is that asbestos is totally removed from this home. The phrase, “They just don’t make ’em like they used to,” comes to mind when digging into a remodel of an old home.
The home I live in now is only half old I guess. It is currently a two story home, but the bottom half was moved about 60 miles from an old mining town called Morenci to a small rural town called Central. After being sold to my wife’s grandparents, they decided they’d add a second floor to this already old structure. So naturally, you can picture what I have to work with here.
Having worked in construction during college as well as building two of my own homes, one might think that I’ve seen it all.
Remodels are a different animal.
The Fun and Easy Part of a Remodel – Demolition
We decided to remodel the downstairs bathroom as one of our projects which involved taking out a few walls. We were to install a bathtub refinishing in lakewood enclosure that would never be able to be manuervered into the bathroom without some major demolition.
Demo only took a few hours. Knock it down, haul it out, clean it up. Simple.
We removed some pretty groovy 70’s wall paper, ripped out drywall, pulled out some old planks of thick, rough wood which made up one of the walls. In and out in no time, right!
The Less Fun Part – Repairing Damage
Wrong! Then come the hidden issues. We ran into some rot in a few places, some molded drywall behind the sink and some uneven floor issues (love old houses). When we pulled out the old sink base, there was no flooring there and about 3 or 4 layers of old school lanolium flooring on top of the subfloor. So to install the new flooring, which is kind of a ruberized laminate flooring, we had to have a perfectly even subfloor to lay it on. Otherwise, any pressure would leave indentions and it would end up looking terrible.
Also, one of our walls is just thick slats of wood stood next to each other. Each board is probably 12 inches in width and 1.25 inches thick. “OLD SCHOOL!” I’m not quite sure how homes were framed back in the day, but this just doesn’t seem like the best way to do things.
After patching up some easy access holes for rodents, we were finally ready to begin adding drywall.
I am NOT a Plumber, and I’m Glad!
Plumbing is my nemesis. It is the one thing that I avoid messing with, only because I know that I might end up cursing or hurting myself before it’s all done.
This old house had water lines coming into the bathroom on opposite walls that badly need a Broken water line repair, and the drain for the bathtub didn’t quite match up with the new piping for the tub/shower kit. So I had to cut a hole in the subfloor around the drain pipe and move it over a bit. I used a compression type coupling to attach the new pipe to the old one, since they were the same size.
The rough-in plumbing was my first attempt. I had water to the area I needed it in, and only had to run lines to the fixture, which includes a tub and shower spout. I really had very little experience in plumbing before this remodel, other than basic kitchen sink issues.
I ended up hiring a plumber from Sarkinen Plumbing serving all of Vancouver, WA. I am happy to say that I actually survived the plumbing…with minimal cursing.
The Finish Work of Our Bathroom Remodel
What to do with the Walls? Since we already had wallpaper on the walls before the remodel, we considered putting up wallpaper again. A search online resulted in some amazing wallpaper from the 70s that would have looked pretty great. However, with the condition of the drywall behind the wallpaper, we decided on a different route.
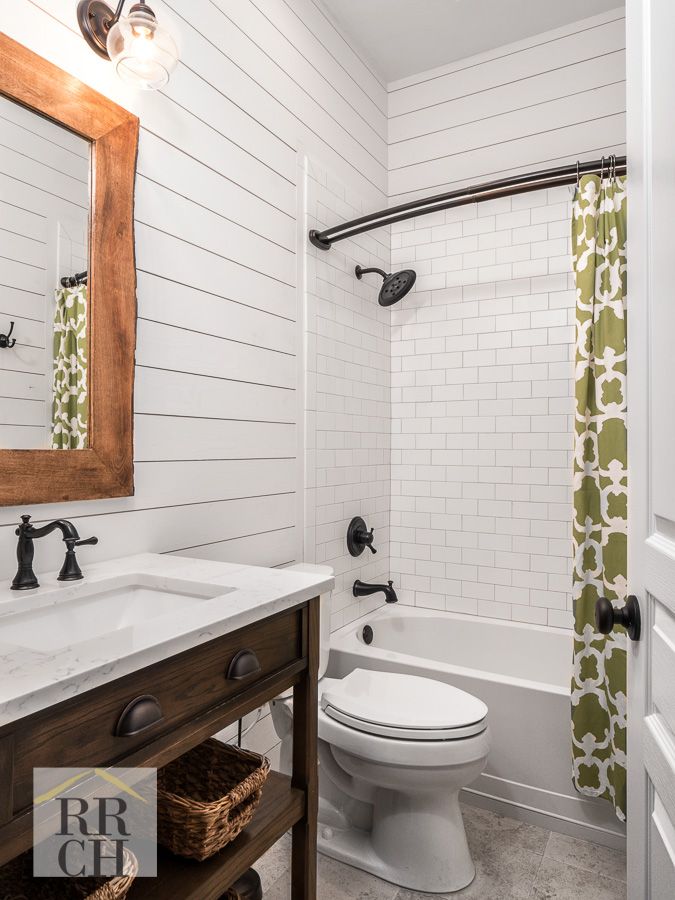
Our end game with the walls is to install shiplap, so I only taped the drywall and didn’t add any texture. Caulking shiplap isn’t the funnest thing in the world to do, but the end result is looking pretty amazing so far. We still have a bit of painting to do, and a linen cabinet to insert into one wall, but as soon as those things are finished up, we’ll hang the mirror and wall decorations and snap a picture for you all to see.
It’s turning out to be pretty amazing…especially compared to what we used to have there.
If you have any questions or comments, please share.