Mod Podge Letters
Well, I love words, names, letters….anything I can read. I am not a huge reader, but I like a room that tells a story, and with words, the story is easier to read!!
I am also super in love with Mod Podge and what it can do with fabric and paper!
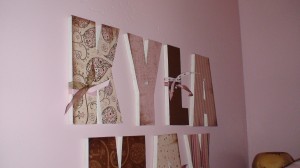
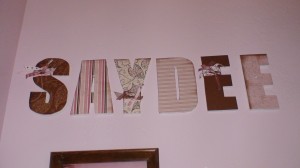
I used a little bit of scrap paper, some wood letters, and some Mod Podge and made these… I made one for each of my girls, by first painting the wood letters white (some are already done for you) and then, after each letter was finished drying, I placed a piece of patterned paper, face down, on a flat surface, and then the wood letter, face down, on top of that paper and traced the shape out precisely. I then cut all the letters out of paper, and next, I painted a layer of Mod Podge (comes in a small plastic bottle in most craft sections) over each wood letter, (one at a time) and then laid the paper letter, that matched the wood letter, on top of that. I smoothed out any bubbles, working from the middle and smoothing towards the edges. I let each letter dry, and then tied some ribbons around a few of the different letters and then hung them up. Super cute and super easy.
I have done these before where I hung each letter with a ribbon, and that is a cute craft too!
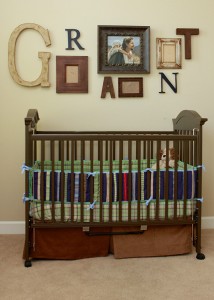
And while I am on the subject of children’s names in their rooms, I found this one YEARS ago, and have been holding onto it, until the time when I could use it. I can’t even remember where I got this, but I loved it so much and thought that if any of you are looking for a clever way of displaying your child’s name in their room, this is a great idea! Isn’t this the cutest name display you have seen!
I love it….ps…thank you to whoever did this years ago!
