Cheap Kitchen Redo
Oh, sometimes I really do wish I planned better!
This is an after-the-project-is-finished photo.
To begin, imagine it looking completely different,
and then…I turned it into this!!
(haha, I know there is no imagining what you couldn’t see before,
but this is completely different!!)
*Keep in mind, this is an old house, and
everything I am doing to spruce it up, is being done with pennies,
because our plan is to build a new house in a few years…
Anyways, you might remember, a few weeks ago
I fell in love with this fabric and made a valance
and re-furbished some old pot holders with it.
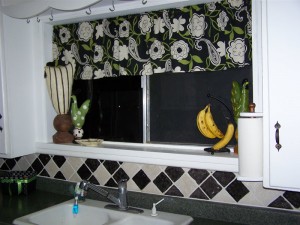 But the more I looked at it,
the more obsessed I became with the colors in the fabric!
But I had a problem, I didn’t have anything green,
(in terms of decorating accessories)
and the back-splash tiles were cream and brownish-tan.
Also, the counter-tops are a darker green,
with black flecks of color in them.
So it would appear that my new valance didn’t
complement my existing tiles and counter-tops.
In fact, they completely clashed.
First up…I painted my back-splash tiles.
(Like I said before, I wish I would have planned better
so I could show you how I did it.)
Anyways, I used black craft paint and painted it on each
brown-tan tile. After they were dry, I sealed each tile with Polyurethane.
I searched all over the internet to find someone else who had
done this before, (painted back-splash tiles)but I found nothing.
So, I decided that I would just give it a try and hope for the best.
And, well…..I absolutely love it!
I love the way it complements the valance,
and pulls the dark colors out of the counter-tops.
It worked out perfectly, so if you are wanting to change your
back-splash tiles, just pick a color and go for it!!
However, I definitely recommend sealing it when the paint drys.
Next, I needed some green accessories.
So, I bought some of this…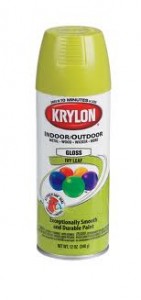 Krylon Spray Paint, color=Ivy Leaf
This stuff is amazing.
It goes on so smooth and even with a great coverage.
I wanted to fill the space above my refrigerator.
So, I started with some old candles (which were tan)
and a giant popcorn tin from Christmas.
(we keep all of our leftover ((from the holidays))candy in that)
I spray painted them with the green Krylon.
Next, I had entered a contest in our local newspaper to win
a gift certificate at a local boutique and
I bought the little green bird with that!
However, it was too short, so I used the Krylon yet again,
to spray paint a mixed nut can…that’s what sits beneath the bird.
Now, I know the big popcorn tin isn’t glamorous in any way,
but it’s part of our lives, so it has to go up there.
But it does look better than the snowman that were on it.
Maybe I will find some kind of scroll work to glam it up with!
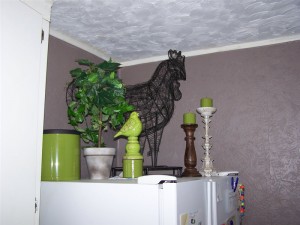 oh, one more thing I had done.
There were two layers of border wallpaper up,
and I took those down.
Then I painted the kitchen.
(also on a dime, I mixed a bunch of colors I already had
to come up with this grayish color.)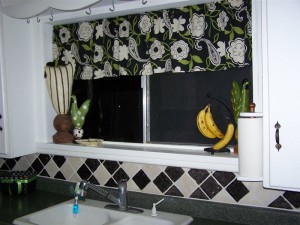 And back to this window.
Notice the chickens in the window.
Well, they were all different colors as well.
They were part of an older color scheme
I had going on before we moved here,
with reds, yellows, and oranges.
So, I re-painted them too!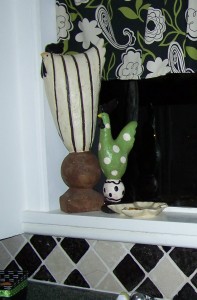
I went to my craft paint, which I already had, and
got out an *antique vintage white, *black, and an *apple green.
With these colors, I re-painted my existing chickens
so they would now complement my valance!
Notice my little black and green basket in the left-hand corner.
That too was a re-do!!
Who says, I have to spend a ton of money to re-decorate?!!
