How To Arrange Pictures
This is one of my favorite topics!
I have had the privilege of helping out quite a few people decorate their homes and
each time the experience is a little different.
Some know exactly what they want, others have a general idea,
and then there are those that are clueless.
So I am here today to help out!
First off, I would invest in a good Laser Level/Stud Finder.
My husband bought me this great one from Black and Decker , called the Bullseye!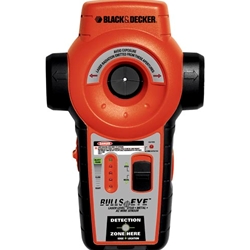
Then, I pick the spot on the wall where I am going to hang the pictures.
Also having a good tape measure is a great idea!
Measure the opening top to bottom, side to side.
This will give you a good idea of how much room you have to work with.
I then tape or mark off that measured area on my floor.
The floor is my favorite place to arrange pictures, frames, or mirrors
because it gives me a great idea of what the display will look like on the wall.
Here are a few arranging templates, I found on the web, for you to use!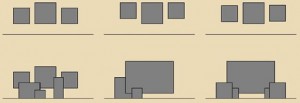 These are great for above a shelf or fireplace mantel.
 I especially like the one on the left for up the stairs.
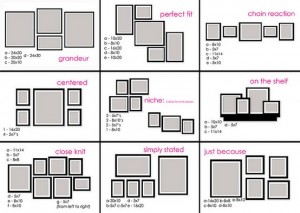 So many great ideas!
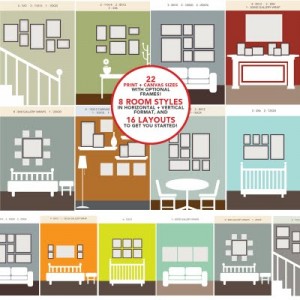
and with that….we put a nail in the center of our Bullseye Laser…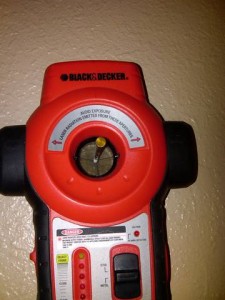 …which allowed us to keep everything level!
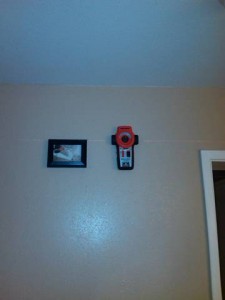 This isn’t the greatest picture,
but you can see the small red laser that travels across the top of the picture and the door frame.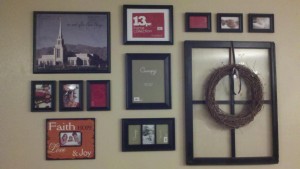 This is what we created with the displays from above and my nifty tool.
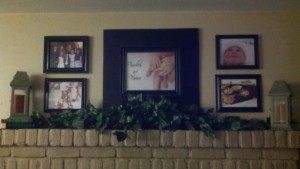 Both areas turned out fantastic and make the room that much more inviting!!
ps…I like to give a shout out to my Brother In Law who was brilliant enough to put the nail in the center of the bullseye laser level. I have been using my little tool for years now, thinking that I had to trace the red line with a pencil and then begin my work. blahhhh……sometimes it takes more than one brain…haha
